Securing Asp.Net Core Web API with Identity Server (Part 5)
July 18, 2020 5 Comments
This is part 5 of a 5 part series:
- Part 1: Setting up and configuring Identity Server
- Part 2: Moving Identity Server configuration to the database using Entity Framework Core
- Part 3: Configuring ASP.Net Identity to work with Identity Server using Entity Framework Core
- Part 4: User authentication and authorization with Identity Server
- Part 5: Creating, configuring and securing an ASP.Net Core API (using Swagger UI)
In this last part, we are going to create our web api and secure access to it using the Identity Server implementation that we created in the previous parts.
We will also add Swagger support as a client for testing the api, and look at how Identity Server flow can be integrated within Swagger.
As has been the theme in the previous post in this series, I will cover the most interesting and important bits and snippets here. The completed source code is available in my Github repository
So let’s start by creating a new Asp.Net Core Web application. Basic steps are:

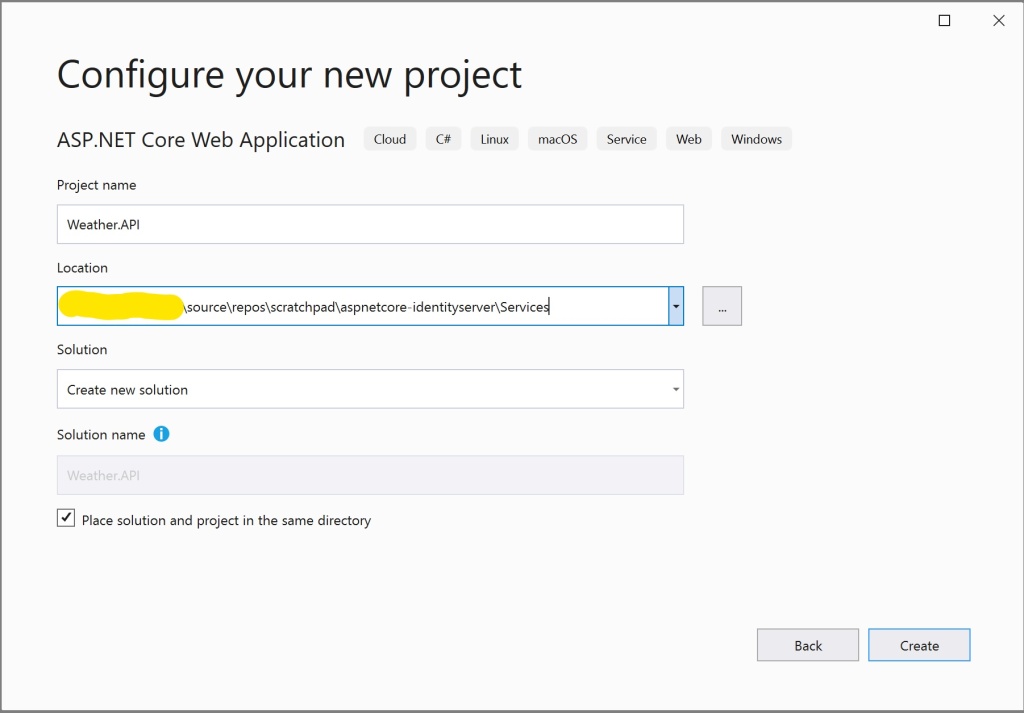

This will create a default Web API project with a default “WeatherForecastController” and the model “WeatherForecast“. We are going to work with these, as its enough to prove our use case.
We will only need the following 2 Nuget packages:
Configuring Identity Server integration
Startup.cs
We will register the Identity Server 4 authentication services to enable authentication support in our API
public void ConfigureServices(IServiceCollection services)
{
	...
    services.AddAuthentication(IdentityServerAuthenticationDefaults.AuthenticationScheme)
            .AddIdentityServerAuthentication(options =>
            {
                options.ApiName = "weatherapi";
                options.Authority = Configuration.GetValue<string>("IdentityProviderBaseUrl");
                options.RequireHttpsMetadata = Environment.IsProduction();
            });

    services.AddControllers()
            .AddMvcOptions(options => options.Filters.Add(new AuthorizeFilter()));
	...
}

public void Configure(IApplicationBuilder app, IWebHostEnvironment env)
{
	if (env.IsDevelopment()) { app.UseDeveloperExceptionPage(); }

	app.UseRouting();

	app.UseAuthentication();
	app.UseAuthorization();

	app.UseEndpoints(endpoints =>
	{
		endpoints.MapDefaultControllerRoute();
	});
}
A few inportant points to note are:
- IdentityProviderBaseUrl is read from the appsettings.json and points to our IdentityServer project i.e. (http://localhost:5000)
- AuthorizeFilter: In our case, since we want to secure all the endpoints in the API, we add a global Authorize filter. Alternatively, you can add it as a controller attribute if you need to support publicly accessible resources on your API
- Authentication and Authorization middlewares: In the “Configure” method, the “UseAuthentication()” and “UseAuthorization()” middlewares should be registered after “UseRouting()” and before “UseEndpoints()“.
Adding and configuring Swagger support
We will use Swagger and Swagger UI, which is going to act as a Client, to help us testing the API. Since we are using Swagger UI as the client, we need to make sure that we configure our API to correctly enable passing the Client credentials and request the correct Scope to get the Access Token issued from our Identity Server.
If you remember, we configured a Client setting in our Identity Server called “weatherapi_swagger“, using the “AuthenticationCode + PKCE” grant type. So let’s configure Swagger.
Startup.cs
public void ConfigureServices(IServiceCollection services)
{
	...

    services.AddSwaggerGen(options =>
    {
        options.SwaggerDoc("v1", new OpenApiInfo
        {
            Title = "Weather Forecast API",
            Version = "v1"
        });
        options.AddSecurityDefinition("oauth2", new OpenApiSecurityScheme
        {
            Type = SecuritySchemeType.OAuth2,
            Flows = new OpenApiOAuthFlows
            {
                AuthorizationCode = new OpenApiOAuthFlow
                {
                    AuthorizationUrl = new Uri($"{Configuration.GetValue<string>("IdentityProviderBaseUrl")}/connect/authorize"),
                    TokenUrl = new Uri($"{Configuration.GetValue<string>("IdentityProviderBaseUrl")}/connect/token"),
                    Scopes = new Dictionary<string, string>
                    {
                        ["weatherapi"] = "Weather API"
                    }
                }
            }
        });
        options.OperationFilter<AuthorizeOperationFilter>();
    });

	...
}
I have highlighted the most important lines of code above. Let’s go over them in a bit more detail:
- Security Scheme Name: In line 12, the first parameter for the “AddSecurityDefinition” method, is the Security Scheme Name as per Swagger specification. This doesn’t need to be “oauth2” but, needs to be unique accross security definitions. The importance of the Scheme name will be apparent, when we look at the “AuthorizeOperationFilter”
- OpenApiAuthFlow: In lines 17-25, we configure the AuthorizationCode auth flow. Every OAuth provider, must define a set of well known endpoints for a set of well known operations such as, authorize, issue access token, read user metadata etc. Since we are using IdentityServer as our Identity porvider, you can find a list of these endpoints here. The 2 endpoints we are using here are:
- Authorize Endpoint: This endpoint is used to interact with the resource owner and obtain an authorization grant
- Token Endpoint: This endpoint is used to obtain an access and/or ID token by presenting an authorization grant obtained via the “Authorize endpoint” or refresh token
- OperationFilter: In line 28, we define a custom operation filter and register it with Swagger. Operation filters in Swagger enable use to specify custom behavior for the all/selective operations defined in the swagger specification. Let’s look at its implementation and discuss it in more detail below:
AuthorizeOperationFilter.cs
public class AuthorizeOperationFilter : IOperationFilter
{
	public void Apply(OpenApiOperation operation, OperationFilterContext context)
	{
		// Since all the operations in our api are protected, we need not
		// check separately if the operation has Authorize attribute
		operation.Responses.Add("401", new OpenApiResponse { Description = "Unauthorized" });
		operation.Responses.Add("403", new OpenApiResponse { Description = "Forbidden" });

		operation.Security = new List<OpenApiSecurityRequirement>
		{
			new OpenApiSecurityRequirement
			{
				[
					new OpenApiSecurityScheme
					{
						Reference = new OpenApiReference {Type = ReferenceType.SecurityScheme, Id = "oauth2"}
					}
				] = new[] {"weatherapi"}
			}
		};
	}
}
- 401 and 403 responses: The first thing that the operation filter does, is that it instructs swagger that all the endpoints in the specification can produce a 401 (Unauthorized) and 403 (Forbidden) response types.
- SecurityScheme: Notice the Id of OpenApiSecurityScheme on line 17. This must match the Security Scheme Name that we earlier, defined in the “AddSecurityDefinition” configuration
The last thing pending is to register the Swagger and Swagger UI middlewares with our middleware pipeline
...
app.UseAuthentication();
app.UseAuthorization();
app.UseSwagger()
    .UseSwaggerUI(options =>
    {
        options.SwaggerEndpoint("/swagger/v1/swagger.json", "Weather API");
        options.OAuthClientId("weatherapi_swagger");
        options.OAuthAppName("Weather API");
        options.OAuthUsePkce();
    });
...
Its important to note here:
- OAuthClientId: This is the Client Id as configured in the Identity Server project
- OAuthAppName: This can be any descriptive name you want to give your API
- OAuthUsePkce: This is required since we have configured AuthorizationCode + PKCE grant type for this client.
And that’s all.
Testing
Since we are using Visual Studio, we can setup our solution to start both our projects:
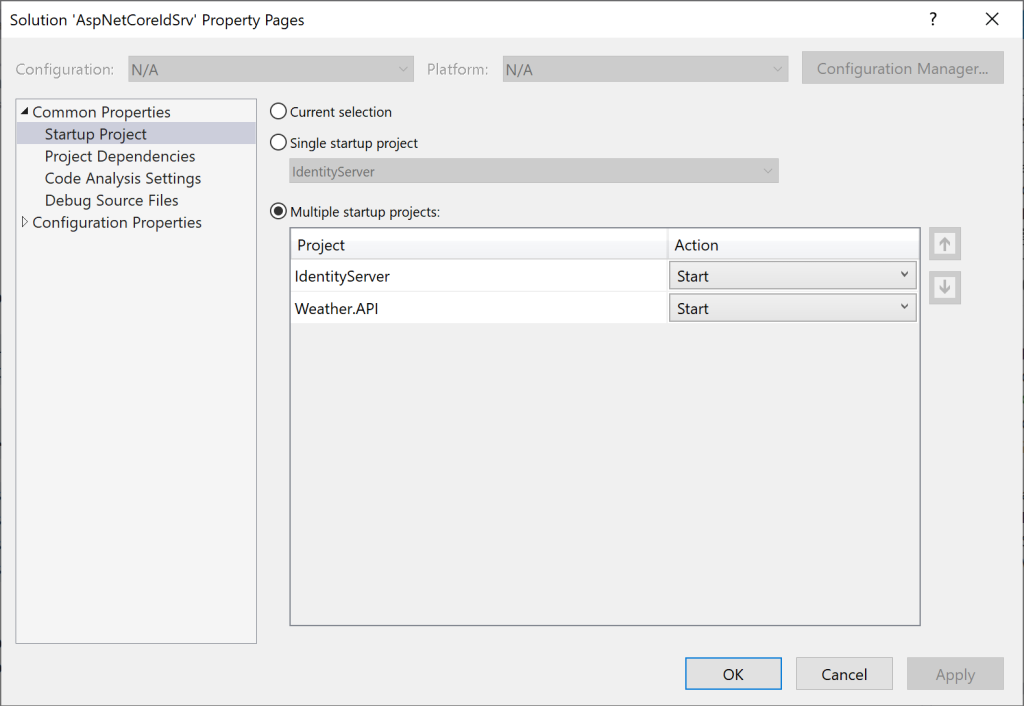
Press F5 and this should launch both the IdentityServer and the Weather.API web applications in separate browser windows with Weather.API project displaying the Swagger UI
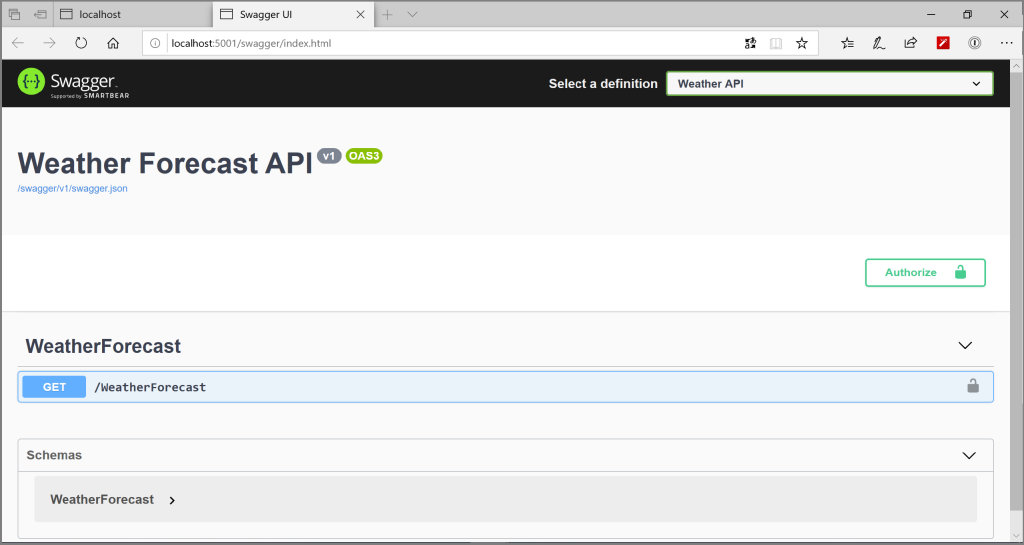
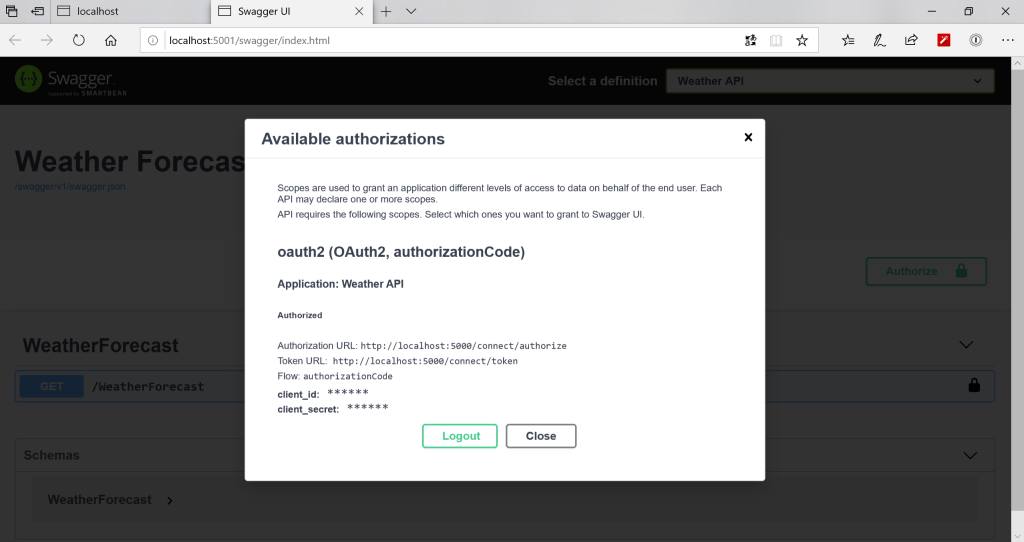
Click on “Authorize“
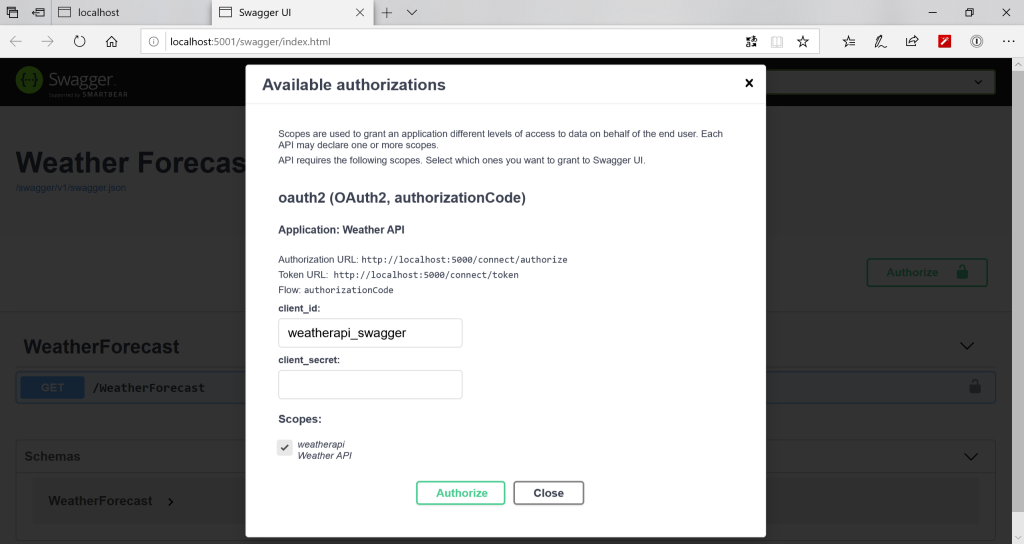
Select the “weatherapi” scope and click on “Authorize“. (Note: Since we made the “Client Secret” for this client optional in our Identity Server configuration, its not required to provide it here). This should redirect us to the Login page that we created earlier in our Identity Sever project
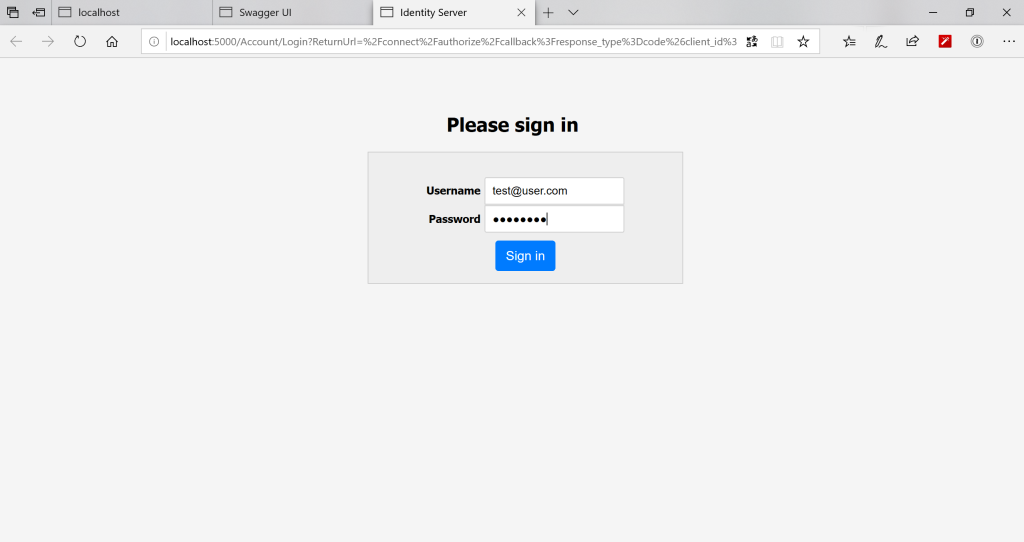
Enter the username and password and click “Sign In“. If the credentials provided are correct, this should redirect us back to the Swagger UI for our Weather.API browser window
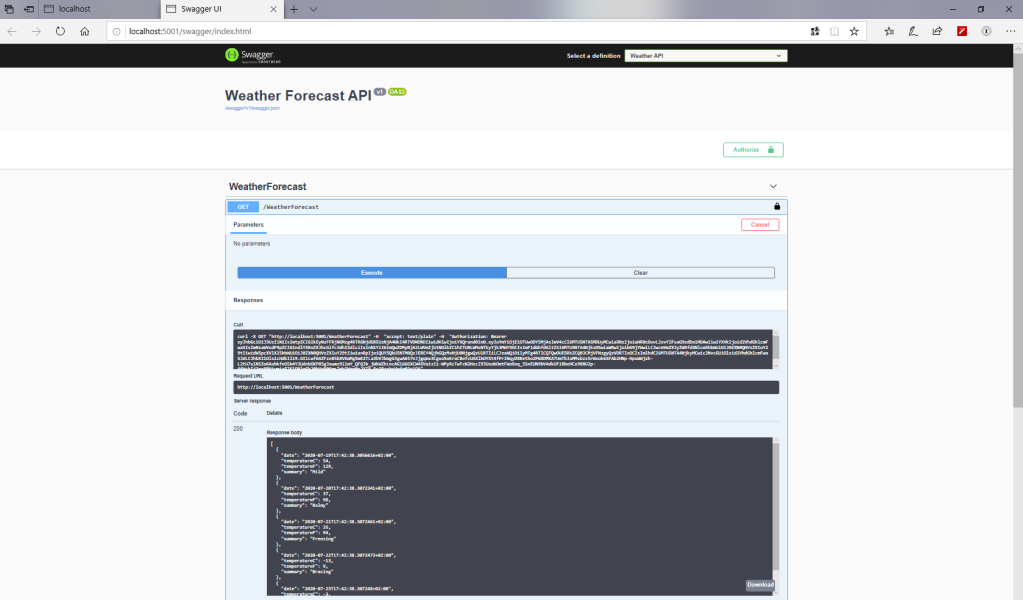
Click “Close” and notice that the “Lock” sign on the get operation is now secured. You can try fetching the weather forecasts and it should give us the result as shown in the image below:
All done, we have secured our API!! Hope this series have been helpful. As always, all the source code is updated on the Githib Repository.
Happy Coding!!


